This was one of my favorite Quest units at CCS! (4th and 5th graders get to choose an elective class to attend once a week for 8 weeks, and these kiddos picked BONSAI!)
I borrowed some techniques from art ed guru EJ Gibbons whose lesson for a wire bonsai sculpture project may be found here: http://www.artedguru.com/3d-projects.html
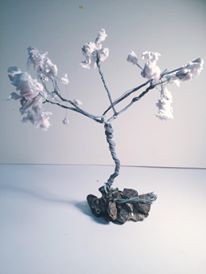
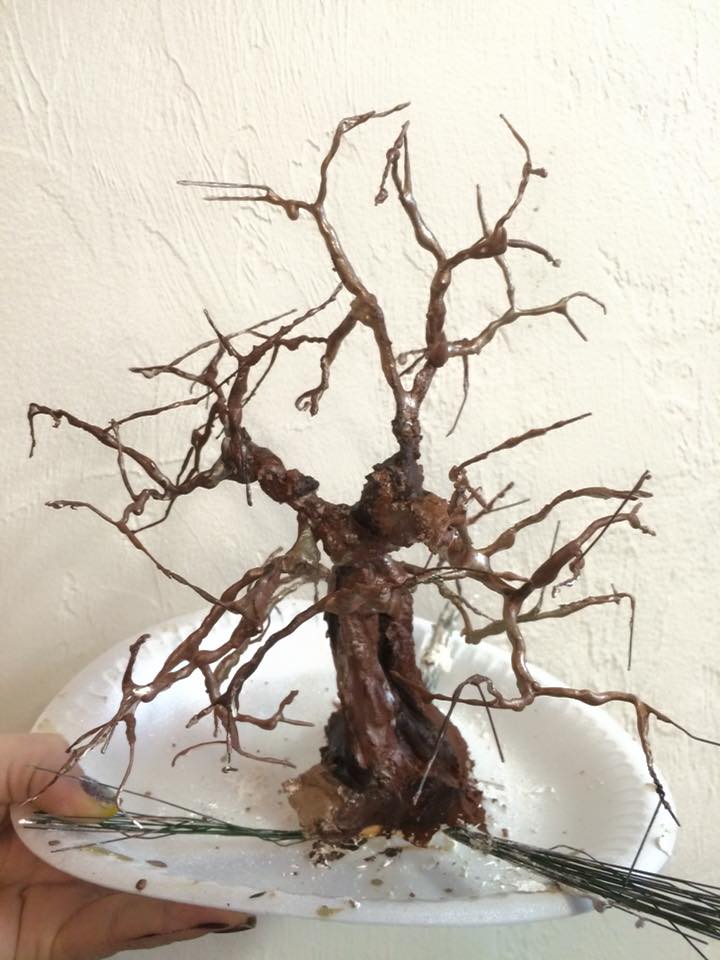
I wanted my students to make wire bonsai sculptures as well as plant and train their own live bonsai. I tested out the level of wire-sculpting trickiness by cranking one out myself. It took about two hours from start to finish.
Ta-da! The roots were the hardest part by far.
Once I was satisfied that my students could handle the wire sculpting, I set out in search of a bonsai master to train us young grasshoppers. Miraculously, it only took one phone call!
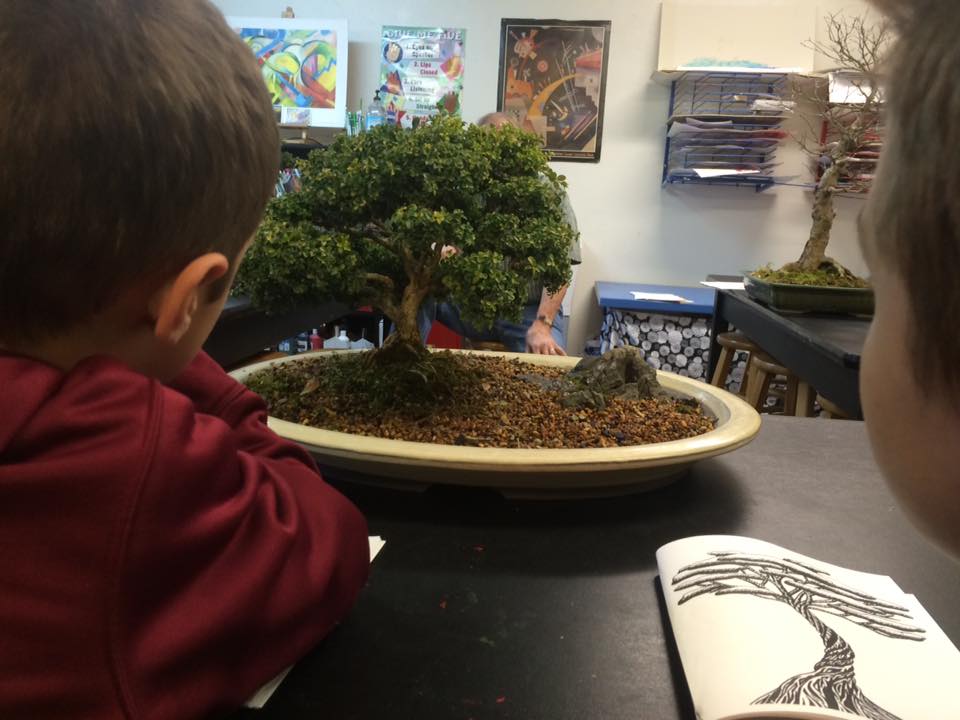
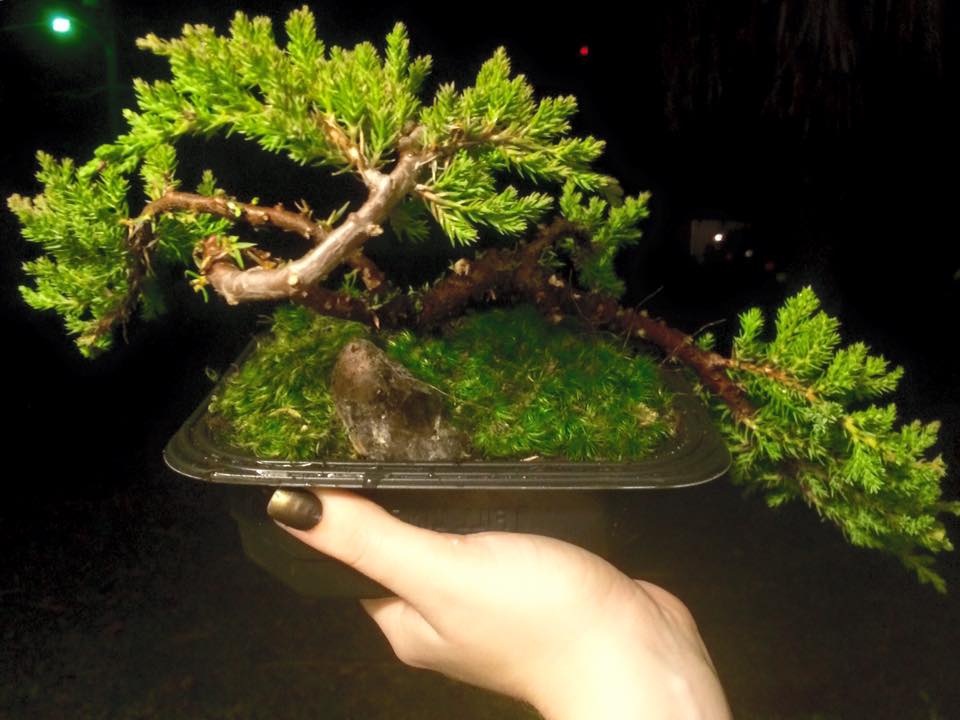
In seconds I was speaking with Dave Cuddington, a member of the Tallahassee Bonsai Society. He invited me over to check out his trees. He also offered to bring them to my school so my students could see them and learn the finer points of bonsai care. Here are some the bonsai in Dave's backyard:
The students love seeing his trees! We learned about the composition of a tree and they sketched the different styles of bonsai to use as inspiration for their wire sculpture.

Next they began the difficult work of twisting their wire into the shape of the trees they sketches. We used about 100 pieces of floral wire for each tree. I highly recommend the floral wire because it was easy to cut with regular scissors! The three parts of a bonsai wire sculpture:
1. Wire trunk and branches
2. Leaves: something small enough to attached easily to the wire. Each student needed about 100 leaves.
3. A Base: This was the hardest thing for most of my students to decide on. It needed to be large and heavy enough to anchor the tree to the ground. It helped it there were holes or notches in the base for the wire to grip on to.
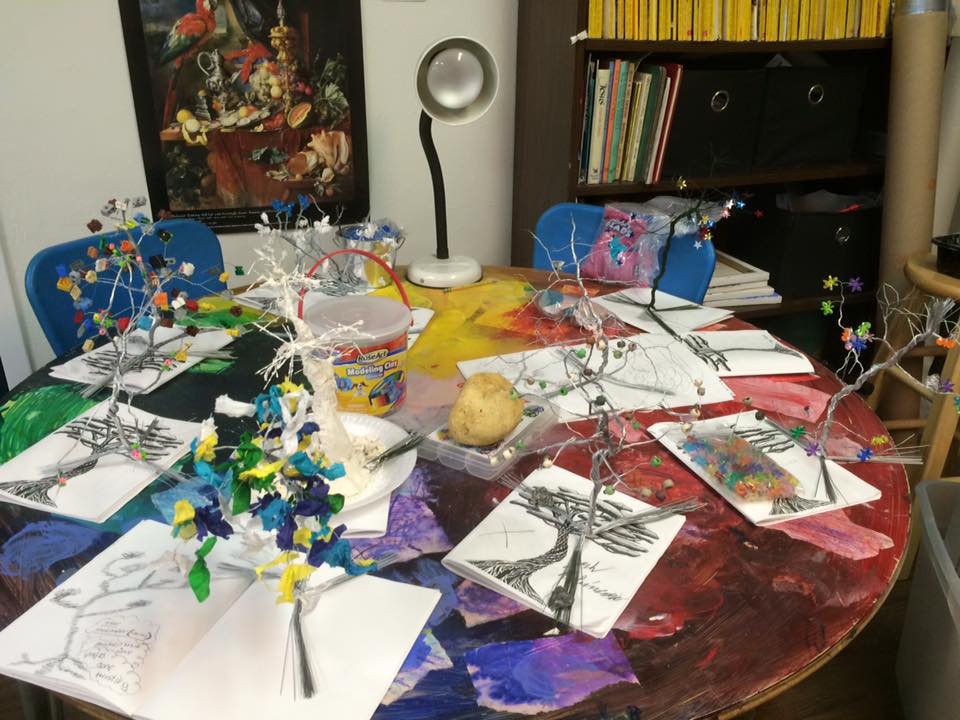
The first step is to divide the wires into two groups and twist them together to make the main trunk. From there, you keep dividing and twisting the groups until each wire is on its own and can connect to a leaf. Here's the beginning of our tiny wire forest:

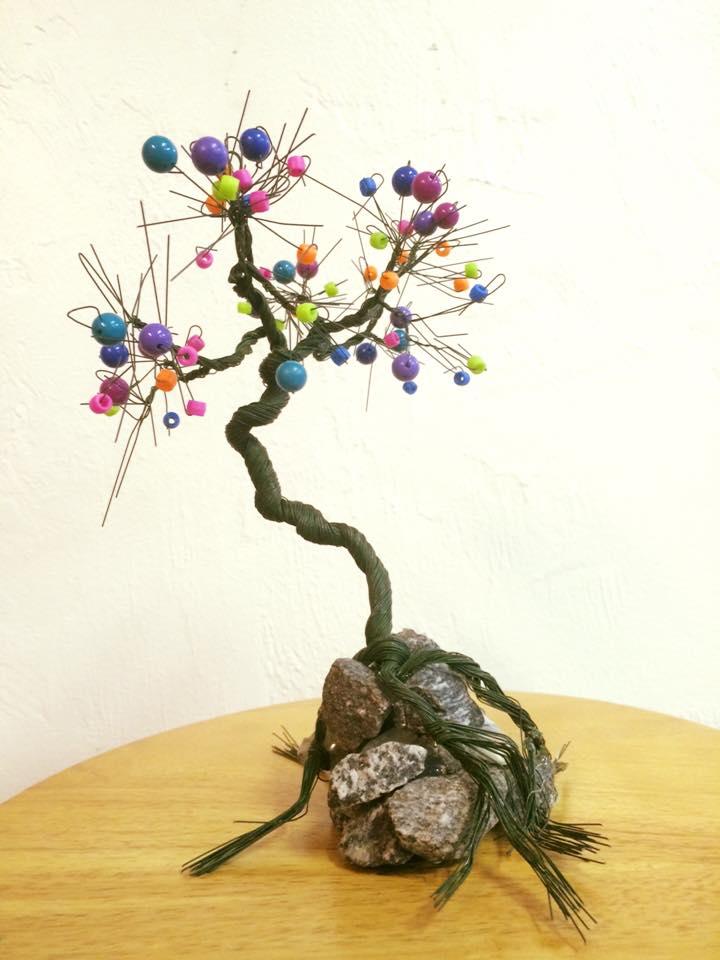
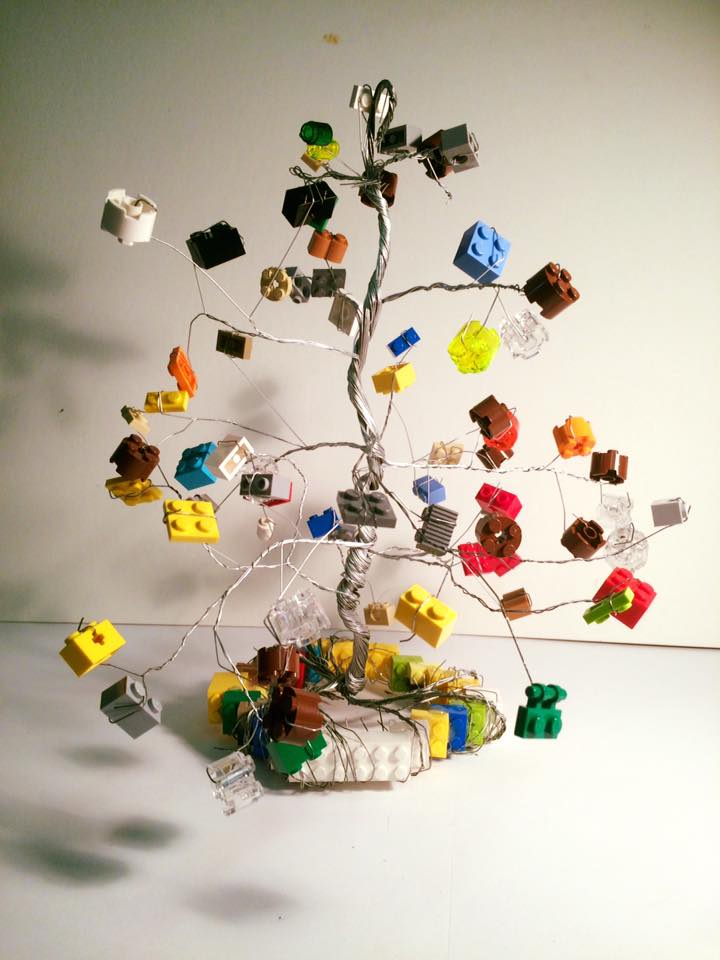
I encouraged the students to get creative with their leaves and bases! Some of their choices were awesome! Love the lego tree! :D
When their wire sculptures were complete (after five 45-minute classes), they did a collaborative mini-research project and created an informational bonsai bulletin board. If I ever find where that photo disappeared to on my hard drive I will post it here. :)
I had to miss a day of Quest, but I left my sub with lesson plan to teach about Haiku poetry and to compare and contrast the Japanese poetic form with the art form of the bonsai. My kids wrote some great poems and made astute observations about the relationships between the two:
“Small trees and poems
are both beautiful because
they’re simple and pure.”
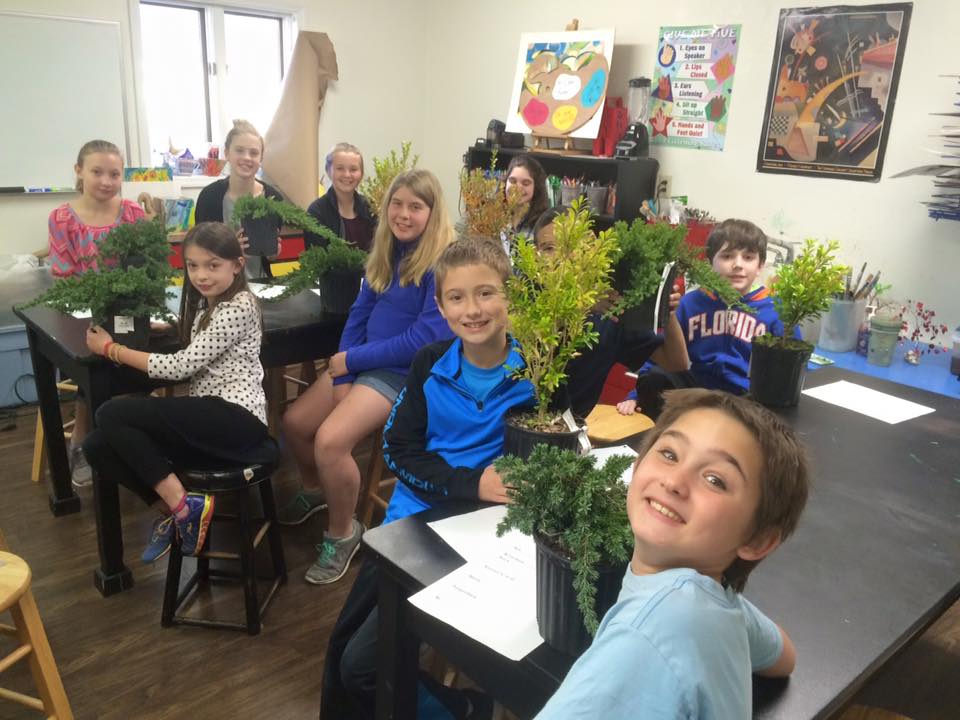
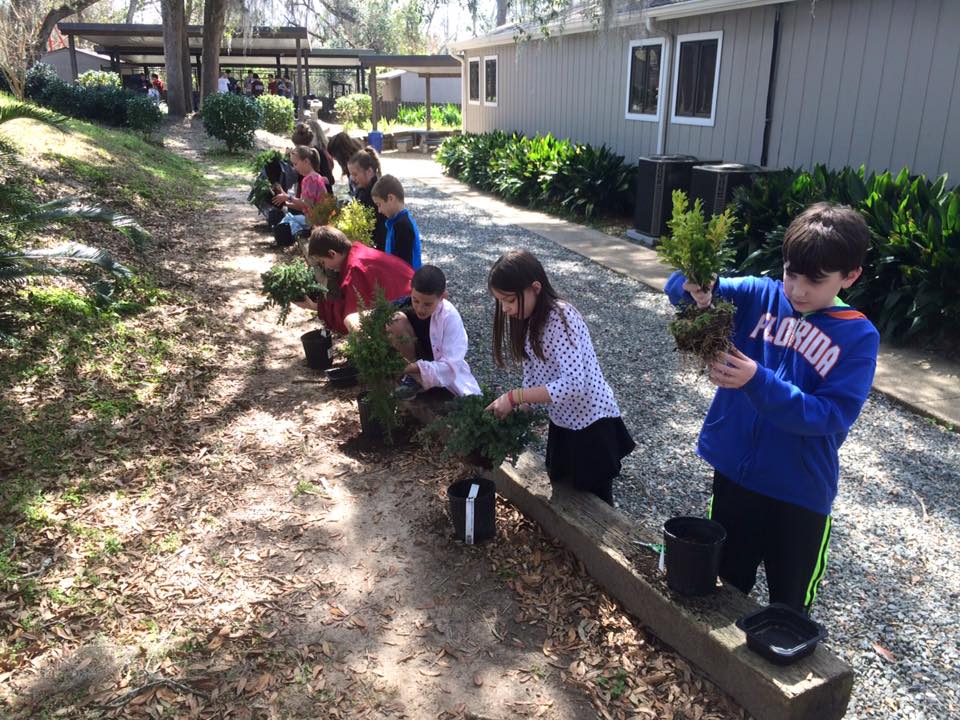
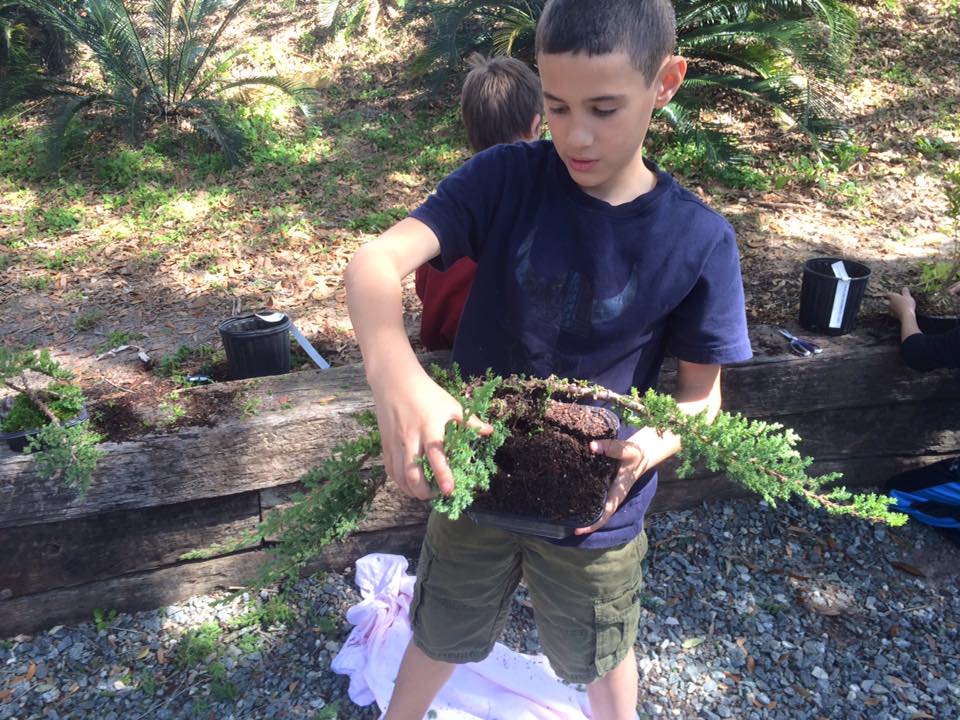
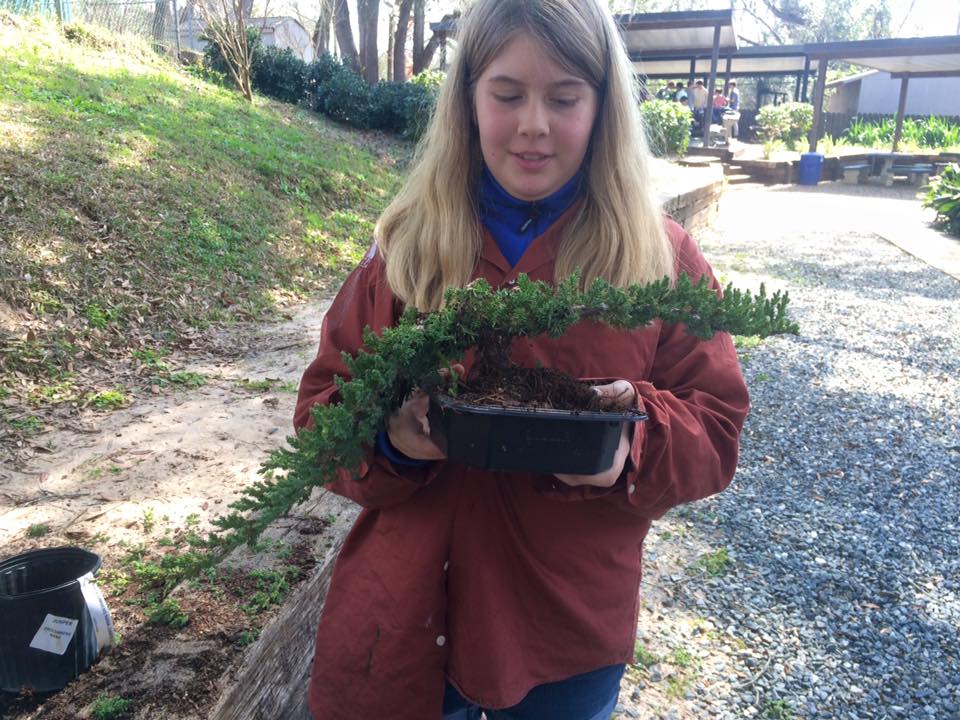
Finally it was planting and pruning day! We used one-gallon Juniper and boxwood trees. They are good trees for beginners. For the container, I collected these microwavable meal containers because they were exactly the right depth. When planting a bonsai, you want the pot to be about as deep as the trunk's thickness. I planted and HEAVILY pruned my demo tree the night before. Dave said not to be afraid to lop off a whole lotta tree in the first pruning!
The kids were so excited to get their trees and to prune them into tiny masterpieces!
Hopefully I can update this post in a few years with an update on our bonsai trees. :) I will definitely be repeating this unit!